Welcome to Lappe's Bee Supply's blogs section. We are a trusted beekeeping company in the USA. We give relevant insights, seasonal guidance, and professional advice for beekeepers of all experience levels. From hive management and bee wellness to honey production and equipment guides, we have it all that you will require to thrive. Get updated, motivated, and connected with the beekeeping community through regular news from Lappe's Bee Supply.
Options for Installing Package Bees
The Buzz About This Post
- Key Takeaways
- Table of Contents
- What are package bees?
- What options do you have for installing package bees?
- Which package bee size should you choose?
- How does the crawl-in method work?
- How does the shake-in method work?
- How do you install a 4 lb. package with two queens?
- Why does queen cage handling matter?
- What is honey bee drifting?
- Which package bee installation method should you use?
- Frequently Asked Questions
- What are package bees?
- What size package bees should beginners buy?
- Is the crawl-in method better than the shake-in method?
- How soon should I check the queen cage?
- Why is the queen kept in a cage?
- Do package bees need feed after installation?
- Can a 4 lb. package start two colonies?
- What is bee drifting?
- How can beekeepers reduce drifting?
- Should package bees be installed in one box or two?
- Sources and Further Reading
- FAQs
How Do You Install Package Bees?
Short Answer: Package bees are installed by either allowing the bees to crawl into the hive naturally or by shaking them directly into prepared hive equipment. Both methods require proper queen cage placement, feeding, and follow-up inspection.
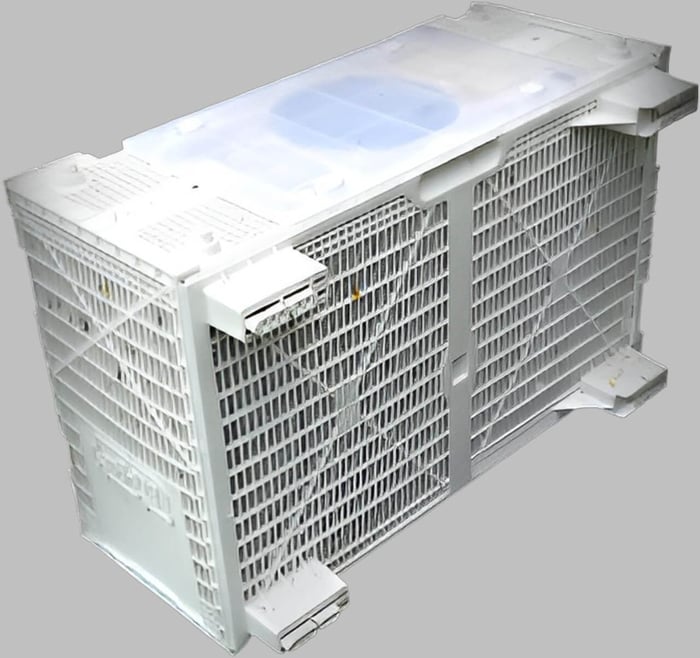
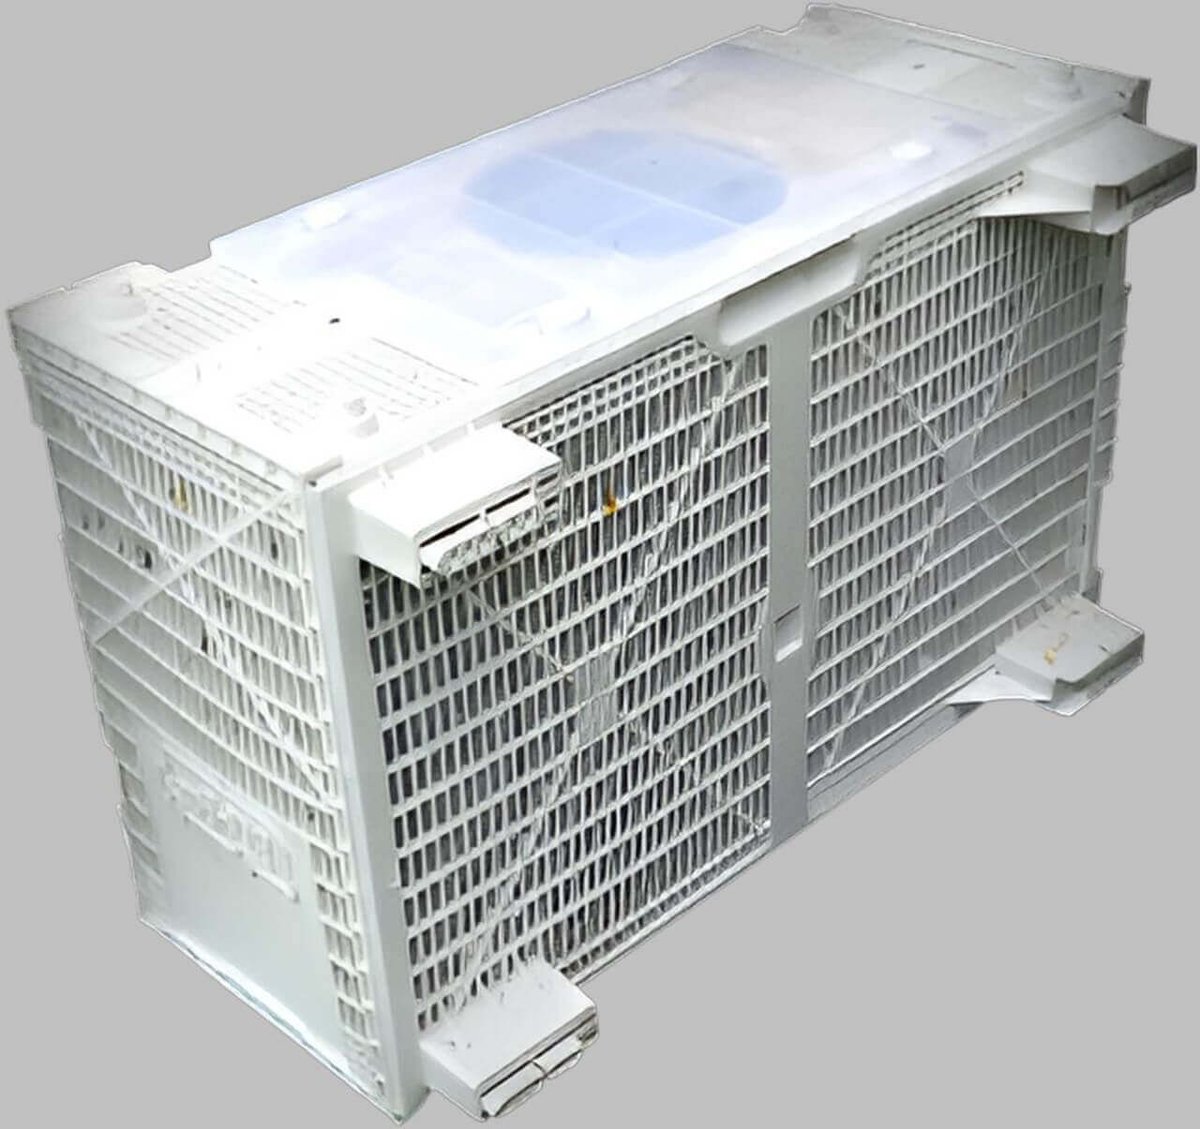
Package bees are worker honey bees sold in a screened transport cage with a caged queen and a feeder can. Beekeepers install package bees into prepared hive equipment to start a new colony.
This guide explains the two most common package bee installation methods: the gentle crawl-in method and the faster shake-in method. It also covers package size selection, queen cage handling, 4 lb. package splits, and honey bee drifting so new beekeepers can install bees with confidence.
Author: Lappe's Bee Supply
Published: April 14, 2025
Last Updated: June 16, 2026
Editorial Note: This guide is written for beginner and intermediate beekeepers and reviewed for practical apiary clarity, safety, and source-backed instruction.
Key Takeaways
- Package bees are used to establish a new honey bee colony in prepared hive equipment.
- A 3 lb. package is the most common beginner choice because it balances cost, availability, and starting population.
- The crawl-in method is slower and gentler because bees move from the package into the hive on their own.
- The shake-in method is faster and often used when installing multiple packages.
- The queen should be handled carefully and usually released through a delayed candy, fondant, or marshmallow plug.
- Entrance reducers help new colonies orient to the hive and defend a smaller entrance.
- Bee drifting can happen when newly installed bees return to the wrong hive, especially in closely spaced apiaries.
| Method | Speed | Beginner Friendly | Best For |
|---|---|---|---|
| Crawl-In | Slower | Excellent | First-time beekeepers |
| Shake-In | Faster | Good | Multiple hive installations |
What are package bees?
Quick Answer: Package bees are worker bees sold with a caged queen and feeder can so beekeepers can start a new colony in empty hive equipment.
- Package bees are commonly sold in 2 lb., 3 lb., and 4 lb. sizes.
- Most packages include one queen in a separate queen cage.
- The worker bees and queen are not installed on drawn comb.
- Package bees require prepared hive equipment, feed access, and careful queen introduction.
A package of bees is different from a nucleus colony, often called a nuc. A nuc usually includes frames of brood, bees, food stores, and an established queen. A package is simply a population of bees and a queen that must be introduced to new hive equipment. Because the bees are starting without brood or drawn comb, early feeding and careful queen management are important. The first few days after installation help determine whether the colony settles into the hive, accepts the queen, begins drawing comb, and starts functioning as a stable colony.
What options do you have for installing package bees?
Quick Answer: Beekeepers usually install package bees with either a crawl-in method or a shake-in method, depending on speed, comfort, and colony count.
- The crawl-in method allows bees to leave the package gradually.
- The shake-in method places bees directly into the hive body.
- Both methods require careful queen cage placement.
- Both methods work best when hive equipment is ready before the package is opened.
There are several different options to consider when choosing and installing package bees. First, choose the type of bees you want. The most common available types are Italian and Carniolan honey bees. Bee packages generally come in 2 lb., 3 lb., and 4 lb. sizes. The 2 lb. and 3 lb. packages each have their own queen caged inside the package. A 4 lb. package may come with one queen or with the option of two queens so the package can be split between two colonies.
Installing package bees is a simple process when the beekeeper prepares equipment before opening the package. The most important priorities are protecting the queen, keeping as many bees as possible in the hive, feeding the new colony when needed, and giving the bees a clear entrance to orient to after installation.
Which package bee size should you choose?
Quick Answer: Most beginners choose a 3 lb. package because it provides a strong starting population while staying widely available and practical.
- A 2 lb. package is commonly chosen because of its lower price.
- A 3 lb. package is the most widely used size for starting a colony.
- A 4 lb. package provides the largest starting bee population.
- A 4 lb. package with two queens can be divided between two hive setups.
The 2 lb. and 3 lb. package bees are the most common sizes used when starting a colony. The 2 lb. package contains the minimum amount of bees generally used to get a colony started, and it is usually purchased because of its lower cost. The 3 lb. package is the most widely used size and is often the most readily available. The extra pound of bees gives the colony an added boost after installation. A practical field estimate is that each pound of bees equals about one frame covered with bees.
The 4 lb. package with one queen gives the beekeeper the largest starting population in one hive. The purpose of a 4 lb. package with two queens is different: it allows the beekeeper to divide the package between two colonies, giving each new hive a queen and a share of the bees.
| Package Size | Best Use | Queen Setup | Practical Notes |
|---|---|---|---|
| 2 lb. | Lower-cost startup | One caged queen | Minimum common starting population; may build more slowly. |
| 3 lb. | Most beginner installations | One caged queen | Most widely used size; gives the colony a stronger starting workforce. |
| 4 lb. with one queen | Largest single-hive population | One caged queen | Useful when the goal is to start one colony with more bees. |
| 4 lb. with two queens | Starting two colonies | Two queens | The package is divided between two hive setups. |
Lappe's field note: A 3 lb. package is typically the most practical starting point for new beekeepers because it offers more bees than a 2 lb. package without requiring the split-management planning of a 4 lb. two-queen package.
How does the crawl-in method work?
Quick Answer: The crawl-in method lets bees move from the package into the hive gradually after the queen cage is placed between center frames.
- This method reduces direct shaking and heavy handling.
- The queen cage is installed before the package is positioned.
- The package is placed upside down over the queen cage.
- An empty box is used to cover the package while bees crawl out.
The crawl-in method is often comfortable for new beekeepers because it is slower and less forceful. First, set up a single box with frames on a bottom board. Install the entrance reducer. Remove the lid and inner cover. If you are using a frame feeder, install it and fill it with feed before the bees are opened. Have an empty box without frames sitting beside the hive so it is ready to place over the package. If you are using a 6-5/8 inch hive setup, you will need two empty 6-5/8 inch boxes to place over the package.
The bees have been inside the package for a day or two and will want to fly for a cleansing flight. Closing the hive around the package encourages bees to exit through the hive entrance, helping them learn where to return. After one or two days, remove the empty package and queen cage. Confirm that the queen is no longer in the cage. If a few bees remain in the package, gently shake them into the hive. Remove the empty box and place the inner cover and lid back on the hive.
How does the shake-in method work?
Quick Answer: The shake-in method empties the package directly into the hive and is often used when installing several colonies quickly.
- The shake-in method is faster than the crawl-in method.
- It is commonly used in commercial or multiple-hive installations.
- The middle frames are removed before bees are shaken into the hive.
- Care is needed when replacing frames so bees are not crushed.
The shake-in method is usually used in commercial applications or multiple-hive setups because it takes less time. This method often works best with two people because the process moves quickly. Before opening the packages, set the hives in the locations where they will remain for the season. Start the bees in one box. Make sure the entrance reducer is installed. Remove the lid, inner cover, and three middle frames from each hive, then set those frames to the side. If you are using a frame feeder, install and fill it before the bees are opened.
Set all packages next to the hives they will be installed in. Install one package at a time. Pull out the syrup can and carefully remove the queen cage by the metal hanging strip. Cover the hole in the package while inspecting the queen. Verify that the queen is alive and moving. Next, turn the package upside down over the empty space between the frames in the middle of the hive and shake the bees into the box. Sometimes you must shake the package from side to side or tap the sides to remove the remaining bees.
Carefully and quickly replace the three frames in the middle of the hive. Avoid smashing bees while sliding frames back into place. This is where a second person is helpful: one person shakes the bees and replaces the frames while the other prepares the queen cage. To prepare the queen, remove one cork and cover the hole with your finger. Fill the hole with fondant or a mini marshmallow so the bees have time to acclimate to the queen while they chew through the plug. Hang the queen cage between the frames in the middle of the box, with the metal strip hooked over the top bar so the cage cannot fall down between frames.
Beekeeper caution: Do not release the queen directly unless you are intentionally using a direct-release method and understand the added risk. Delayed release gives the bees time to accept her scent.
Quickly place the inner cover and lid on the hive to keep as many bees in the hive as possible. This encourages the bees to leave from the hive entrance during their cleansing flight and return to the correct hive. After a couple of days, check to make sure the queen has come out of the queen cage, then remove the empty cage from the hive.
How do you install a 4 lb. package with two queens?
Quick Answer: A 4 lb. package with two queens is divided between two hive setups so each new colony receives bees and one queen.
- Prepare two complete hive setups before opening the package.
- Install entrance reducers on both hives.
- Remove the middle frames from both boxes before shaking bees.
- Work quickly to reduce drifting and bee loss.
A 4 lb. package with two queens is installed differently using the shake method. First, have two hive setups ready with entrance reducers installed. Remove the lids, inner covers, and three middle frames from both hives. Set the frames to the side. If you are using frame feeders, install and fill them before opening the package.
Next, remove the queen on the outside of the package, or if you purchased an extra queen for this package, set that queen beside the other hive. Then remove the syrup can and remove the other queen hanging inside the package by the metal strip. At this point, two people working together can make the process smoother and faster.
The person shaking the bees should shake about half of the bees into the first hive. The second person should quickly install the three frames back into that hive, being careful not to crush bees. Carefully remove the cork from one side of the queen cage. Cover the opening with your finger so the queen does not escape. Hang the queen cage by the metal strip between the frames in the middle of the box. Do not remove your finger from the cage opening until the cage is securely hooked to the frame. Install the inner cover and lid quickly. Move to the second hive and repeat the process with the remaining half of the package bees and the second queen.
After a couple of days, check both queen cages and make sure each queen has exited. Remove the empty queen cages from the hives.
Why does queen cage handling matter?
Quick Answer: Queen cage handling matters because delayed release helps workers accept the queen before direct contact inside the new colony.
- The queen should be inspected before installation.
- The queen cage should be handled gently and briefly.
- A candy, fondant, or marshmallow plug slows release.
- The cage should not fall between frames after installation.
The queen is central to the success of a newly installed package. She is responsible for laying eggs and establishing the colony's brood pattern once accepted. During installation, the goal is to place her safely in the center of the hive while allowing the worker bees time to recognize and accept her. Rough handling, accidental direct release, or dropping the cage between frames can create avoidable problems.
When removing the cork, keep the queen cage opening covered until the release plug is in place or until the cage is secured in the hive. If the queen flies away during installation, she may not return, and the colony may fail unless another queen is introduced. A slow release through fondant, candy, or a mini marshmallow gives the workers time to chew through the plug and adjust to the queen.
What is honey bee drifting?
Quick Answer: Honey bee drifting happens when bees return to the wrong hive, often after package installation or hive relocation.
- Drifting is common when multiple hives are close together.
- Newly installed bees may not yet recognize their hive location.
- End hives may gain bees from neighboring colonies.
- Drifting can create uneven colony populations.
Honey bee drifting occurs when bees become confused and enter the wrong hive. This can happen when package bees are first installed, when multiple hives are moved, or when hives are placed in a straight row with entrances close together. Drifting adds population to some hives and removes bees from others. Often, hives on the ends of a row receive more drifting bees than colonies in the middle.
Some drifting is normal, especially during the first days after installation. Beekeepers can reduce confusion by spacing hives when possible, using visual hive markers, varying entrance direction, and encouraging bees to exit through the correct entrance after installation. The goal is not to eliminate every drifting bee, but to help each new colony stabilize and build its own population.
Which package bee installation method should you use?
Quick Answer: Use the crawl-in method for a gentler beginner process and the shake-in method when speed matters or several packages must be installed.
| Decision Factor | Crawl-In Method | Shake-In Method |
|---|---|---|
| Best for beginners | Very beginner friendly | Moderately beginner friendly |
| Speed | Slower | Faster |
| Bee handling | Less direct handling | More direct handling |
| Best use case | One or a few hives | Multiple hives or commercial installs |
| Second person helpful? | Not usually required | Often helpful |
Neither installation method is automatically better for every beekeeper. The better choice is the method that matches your confidence level, number of packages, equipment setup, and weather conditions. A new beekeeper installing one package may prefer the calm pace of the crawl-in method. A beekeeper installing several packages before weather changes may prefer the shake-in method. In both cases, prepare equipment first, protect the queen, work smoothly, and check the queen cage after one or two days.
Frequently Asked Questions
What are package bees?
Package bees are worker bees sold with a caged queen and feeder can for starting a new honey bee colony in empty hive equipment.
What size package bees should beginners buy?
Most beginners choose a 3 lb. package because it gives the colony a stronger starting population while remaining widely available.
Is the crawl-in method better than the shake-in method?
The crawl-in method is gentler, while the shake-in method is faster. The best choice depends on comfort level and how many packages are being installed.
How soon should I check the queen cage?
Most beekeepers check the queen cage after one or two days to confirm the queen has exited and to remove the empty cage.
Why is the queen kept in a cage?
The queen is kept in a cage so worker bees can become familiar with her before direct contact, which helps reduce rejection risk.
Do package bees need feed after installation?
Many new package colonies benefit from syrup feed, especially when nectar is limited or the colony must draw new comb.
Can a 4 lb. package start two colonies?
Yes. A 4 lb. package with two queens can be divided between two prepared hive setups so each colony receives bees and one queen.
What is bee drifting?
Bee drifting occurs when bees return to the wrong hive after flying, often during installation or after hives are moved.
How can beekeepers reduce drifting?
Beekeepers can reduce drifting by spacing hives, using visual hive markers, and varying entrance direction when practical.
Should package bees be installed in one box or two?
Most package bees are started in one box so the colony can cluster, defend space, access feed, and begin building comb efficiently.
Sources and Further Reading
FAQs
What are package bees?
Package bees are worker bees sold with a caged queen and feeder can for starting a new honey bee colony in empty hive equipment.
What size package bees should beginners buy?
Most beginners choose a 3 lb. package because it gives the colony a stronger starting population while remaining widely available.
Is the crawl-in method better than the shake-in method?
The crawl-in method is gentler, while the shake-in method is faster. The best choice depends on comfort level and how many packages are being installed.
How soon should I check the queen cage?
Most beekeepers check the queen cage after one or two days to confirm the queen has exited and to remove the empty cage.
Why is the queen kept in a cage?
The queen is kept in a cage so worker bees can become familiar with her before direct contact, which helps reduce rejection risk.
Do package bees need feed after installation?
Many new package colonies benefit from syrup feed, especially when nectar is limited or the colony must draw new comb.
Can a 4 lb. package start two colonies?
Yes. A 4 lb. package with two queens can be divided between two prepared hive setups so each colony receives bees and one queen.
What is bee drifting?
Bee drifting occurs when bees return to the wrong hive after flying, often during installation or after hives are moved.