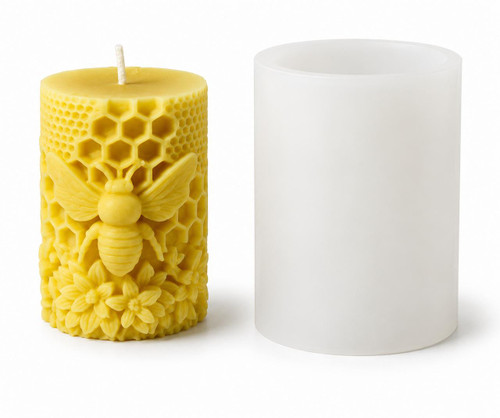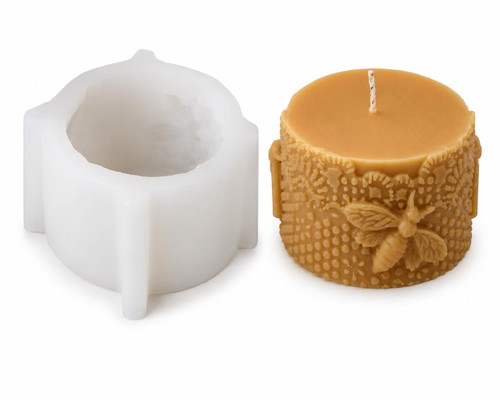


Product Overview
Honey Bee, Honeycomb & Flower Medallion Silicone Candle Mold
Create a decorative pillar candle with honey bee, honeycomb, and flower details
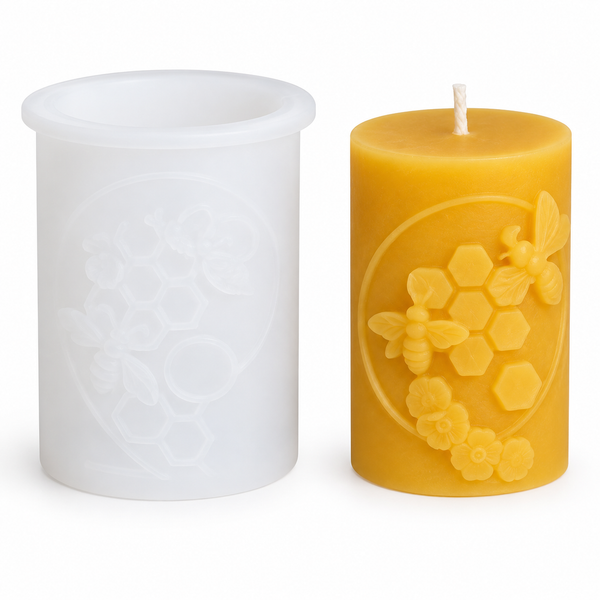
The Honey Bee, Honeycomb & Flower Medallion Silicone Candle Mold creates a detailed decorative pillar candle approximately 7.57 cm high × 5.2 cm wide, or 2.98 inches high × 2.05 inches wide. The finished candle features a raised oval medallion with honeycomb cells, honey bees, flowers, and leafy accents.
Its compact pillar shape makes it a strong choice for beeswax gifts, beekeeper-themed displays, pollinator collections, craft-market candles, and handmade gift sets. The smooth candle body provides a clean background that helps the raised bee and botanical design stand out.
Product Specifications
- Product: Honey Bee, Honeycomb & Flower Medallion Silicone Candle Mold
- Mold material: Flexible silicone
- Mold dimensions: Approximately 7.68 cm high × 6 cm wide
- Mold dimensions in inches: Approximately 3.02 inches high × 2.36 inches wide
- Finished candle dimensions: Approximately 7.57 cm high × 5.2 cm wide
- Finished candle dimensions in inches: Approximately 2.98 inches high × 2.05 inches wide
- Design: Raised oval medallion with honeycomb, honey bees, flowers, and leaf details
- What’s Included: 1 Honey Bee, Honeycomb & Flower Medallion Silicone Candle Mold
- Not Included: Wax, wick, dyes, fragrance, and other candle-making supplies
Use the finished-candle dimensions when planning gift boxes, labels, displays, or candle groupings. The exterior mold dimensions are larger than the finished candle.
What Makes This Candle Mold Different?
This mold combines several popular beekeeping-inspired details in one focused medallion design. The honeycomb cells create a recognizable bee theme, while the bees and flowers add visual detail and a more finished botanical look.
Unlike an all-over honeycomb candle, this design keeps the decorative artwork concentrated in a raised oval panel. That makes it a good option when you want a detailed feature side for display, labels, photos, or gift presentation.
Making Candles With This Mold
The honeycomb cells, bees, flowers, and leaves are the most detailed areas of the mold. A slower, controlled pour can help wax reach those smaller features.
- Center and secure the wick before pouring.
- Prepare the wax and candle-making equipment for your project.
- Pour the wax slowly and steadily.
- Gently tap the mold after pouring to help release trapped air.
- Check the wick alignment before the wax becomes too firm to adjust.
- Allow the candle to cool completely and become firm throughout.
- Use a small topping pour if cooling creates a depression around the wick.
- Gently peel the silicone away from the finished candle during demolding.
Avoid rushing the release. Complete cooling helps the candle hold its smooth pillar shape and preserve the raised medallion details.
Choosing a Wick for the Finished Candle
The finished candle’s approximately 2.05-inch width is a useful starting point for wick selection, but it does not determine one universal wick size.
Wax type, wick construction, fragrance, dye, additives, and desired burn characteristics can all affect the correct wick choice. Test-burn the completed wax-and-wick combination before making candles for gifts, sales, or larger batches.
What You’ll Need for Candle Making
This is a candle-forming mold rather than a complete candle-making kit. Before beginning, have the appropriate wax, wick, melting and pouring equipment, and any colors or fragrance materials you plan to use.
Wax, wick, dyes, fragrance, and other candle-making supplies are sold separately.
Cooling and Demolding
Allow the candle to cool completely and become firm throughout before removing it from the mold. The exterior may appear set while the center remains warmer and softer.
When ready to demold, gently flex and peel the silicone away from the candle rather than pulling forcefully on the candle itself. This helps protect the raised honeycomb, bee, and flower design.
Cleaning and Storing the Silicone Candle Mold
After the mold has cooled, gently flex it to remove residual wax. Inspect the honeycomb cells and raised botanical areas where small amounts of wax may remain.
When additional cleaning is needed:
- Hand wash with warm water and a small amount of mild dish soap.
- Use a soft cloth, sponge, or soft-bristled brush.
- Rinse thoroughly.
- Allow the mold to dry completely before storage.
Avoid knives, metal picks, sharp tools, and abrasive pads that could damage the silicone. Store the clean, dry mold in its natural shape in a cool, dry place away from excessive heat, direct sunlight, folding, crushing, or heavy objects.
Is This Candle Mold Right for Your Project?
Choose this mold when you want a compact pillar candle with a prominent raised bee, honeycomb, and flower design. It is especially suited to beeswax gifts, beekeeper displays, pollinator-themed collections, craft fairs, and handmade candle gift sets.
Beginning candle makers can use this mold, although the smaller medallion details may take some practice to reproduce consistently. Slow pouring, gentle tapping, complete cooling, and careful demolding are especially useful.
Frequently Asked Questions
What size candle does this mold make?
The finished candle measures approximately 7.57 cm high × 5.2 cm wide, or approximately 2.98 inches high × 2.05 inches wide.
What are the mold dimensions?
The exterior mold measures approximately 7.68 cm high × 6 cm wide, or approximately 3.02 inches high × 2.36 inches wide.
Does the listing include wax or a wick?
No. This listing is for the candle mold only. Wax, wick, dyes, fragrance, and other candle-making supplies are sold separately.
What wick size should I use?
The finished candle’s approximately 2.05-inch width provides a starting point, but the correct wick should be confirmed through test burns using your exact wax, wick, fragrance, dye, and additives.
Why did some honeycomb or flower details not come out clearly?
Trapped air, pouring too quickly, incomplete cooling, or rough demolding can affect small details. Pour slowly, gently tap the mold after pouring, allow complete cooling, and carefully peel the silicone away during removal.
When should I remove the candle from the mold?
Remove the candle only after it has cooled completely and feels firm throughout. Gently peel the flexible silicone away from the candle instead of forcefully pulling the candle from the mold.
How should I clean and store the mold?
Gently flex away cooled residual wax. When additional cleaning is needed, hand wash with warm water and mild dish soap using soft cleaning tools, then dry completely and store the mold in its natural shape.